Brother LS-2125 Sewing Machine: A Comprehensive Instruction Manual Guide
This guide provides detailed instructions for the Brother LS-2125‚ LS-2125i‚ and LS-2129 sewing machines. Access official manuals and support resources at Brother’s website (support.brother.com).
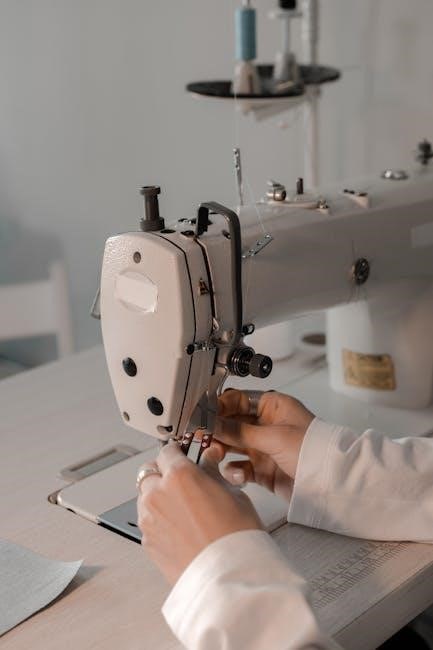
Welcome to the world of sewing with the Brother LS-2125! This user-friendly sewing machine is designed for both beginners and experienced sewists‚ offering a blend of simplicity and functionality. This comprehensive guide will walk you through every aspect of operating your machine‚ from initial setup to advanced techniques.
The Brother LS-2125 is a versatile machine capable of handling a wide range of sewing projects‚ including garment construction‚ quilting‚ and home décor. Its compact design makes it ideal for smaller spaces‚ while its robust build ensures durability. Understanding your machine’s features and how to utilize them effectively is key to achieving professional-looking results.
This manual draws upon official resources available at support.brother.com‚ providing accurate and up-to-date information. We’ll cover everything from threading the machine and winding the bobbin to mastering various stitch types and troubleshooting common issues. Prepare to unlock the full potential of your Brother LS-2125 and embark on a rewarding sewing journey!
Machine Features and Specifications
The Brother LS-2125 boasts a range of features designed for ease of use and versatility. It includes 15 built-in stitches‚ offering options for various sewing applications‚ from basic straight stitching to decorative zigzag patterns. A key feature is the automatic needle threader‚ simplifying a traditionally tedious task.
Specifications include: a maximum sewing speed of 750 stitches per minute‚ adjustable stitch length and width‚ and a drop-in bobbin system for convenient bobbin changes. The machine accommodates various fabric types‚ from lightweight silks to medium-weight denim. It also features a reverse stitch function for secure seam finishing.
Further enhancing usability is the free arm‚ ideal for sewing cuffs‚ sleeves‚ and other cylindrical shapes. Refer to official documentation at support.brother.com for a complete list of specifications and detailed feature explanations. The LS-2125 is designed to be a reliable and efficient sewing companion for all your creative projects.
Unboxing and Initial Setup
Upon unboxing your Brother LS-2125‚ carefully inspect all components against the included parts list; Ensure all accessories – foot pedal‚ power cord‚ various presser feet‚ bobbins‚ needle set‚ screwdriver‚ and cleaning brush – are present. Remove all packaging materials and protective coverings.
Initial setup involves connecting the power cord and foot pedal. Place the machine on a stable‚ level surface with adequate lighting. Before threading‚ ensure the power switch is OFF. Familiarize yourself with the machine’s key components‚ referencing the diagrams in the official manual available at support.brother.com.
Begin by attaching the power cord securely and plugging it into a grounded outlet. Connect the foot pedal. A test run (without thread) is recommended to confirm proper operation. Always consult the manual for detailed illustrations and safety precautions before proceeding with threading and sewing.
Parts Identification
The Brother LS-2125 consists of several key components essential for operation. These include the power switch‚ handwheel‚ spool pin‚ bobbin winder‚ thread tension dial‚ needle clamp and screw‚ presser foot‚ presser foot lever‚ feed dogs‚ and the bobbin case. Understanding each part’s function is crucial.
Locate the needle plate‚ stitch length dial‚ stitch width dial‚ and stitch selection dial. The reverse lever controls backstitching. The free arm facilitates sewing cuffs and sleeves. Refer to the official manual (support.brother.com) for detailed diagrams illustrating each part’s precise location and purpose.
Familiarize yourself with the bobbin case and cover plate. Identify the thread guides and their correct threading path. Knowing the function of each part will streamline setup and troubleshooting. Proper identification ensures safe and efficient machine use‚ maximizing sewing capabilities.
Needle and Presser Foot Assembly
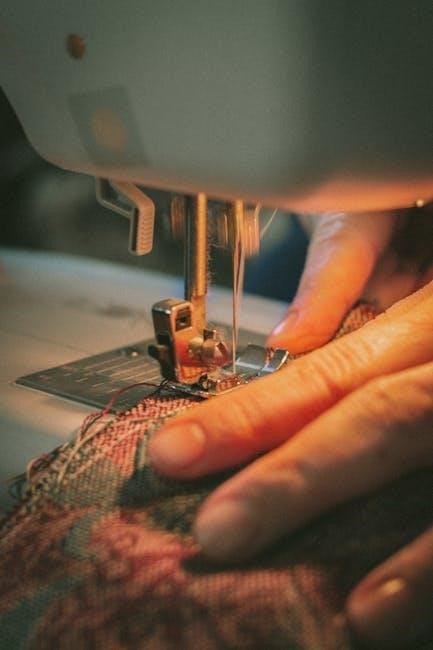
The needle assembly is vital for stitch formation. Ensure the correct needle type (size and system) is used for your fabric. Insert the needle firmly into the needle clamp‚ with the flat side facing the back. Tighten the needle screw securely‚ but avoid over-tightening.
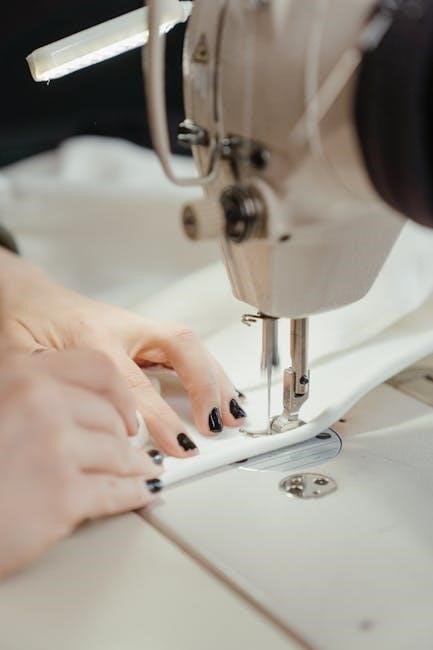
The presser foot holds the fabric in place. Different presser feet are available for various techniques – standard‚ zipper‚ buttonhole‚ etc. Attach the desired foot by gently lowering it onto the shank until it clicks. Use the presser foot lever to raise and lower the foot during sewing.
Proper assembly ensures even stitch quality. Refer to the official Brother LS-2125 manual (support.brother.com) for detailed diagrams and recommended needle/foot combinations. Incorrect assembly can cause skipped stitches‚ fabric puckering‚ or needle breakage.
Bobbin Winding and Insertion
Winding the bobbin correctly is crucial for consistent stitching. Place the thread spool on the spool pin and guide the thread through the tension disc. Wind several turns around the bobbin‚ then engage the bobbin winder by pushing the winder shaft to the right.
Monitor the bobbin as it winds‚ stopping when full. Disengage the winder and trim the thread. To insert the bobbin‚ open the bobbin cover and place the bobbin into the bobbin case‚ ensuring it rotates in the correct direction (clockwise‚ typically).
Thread the bobbin thread through the tension spring. Refer to the official Brother LS-2125 manual (support.brother.com) for visual guidance. Incorrect bobbin threading can lead to tangled threads and poor stitch quality. Always use genuine Brother bobbins for optimal performance.
Thread Guides and Tension Control
Proper threading is essential for smooth operation. Guide the upper thread through all designated thread guides‚ following the numbered sequence indicated on the machine. These guides ensure correct thread path and tension. Incorrect threading will cause skipped stitches or thread breakage.
Tension control regulates the balance between upper and lower threads. The tension dial adjusts the pressure on the upper thread. For standard fabrics‚ a setting between 3 and 5 is usually appropriate.
Test stitch on scrap fabric to verify tension. If the bobbin thread pulls to the top‚ decrease the upper tension. If the upper thread pulls to the bottom‚ increase it. Consult the official Brother LS-2125 manual (support.brother.com) for detailed tension adjustments based on fabric type and thread weight.
Basic Sewing Operations
Before beginning‚ ensure the machine is correctly threaded (upper and lower) and the bobbin is properly inserted. Select your desired stitch using the stitch selection dial. Begin with a straight stitch for most general sewing tasks.
Adjust stitch length and width according to your fabric and project needs. A longer stitch length is suitable for heavier fabrics‚ while a shorter length is ideal for delicate materials. Practice on scrap fabric to determine optimal settings.
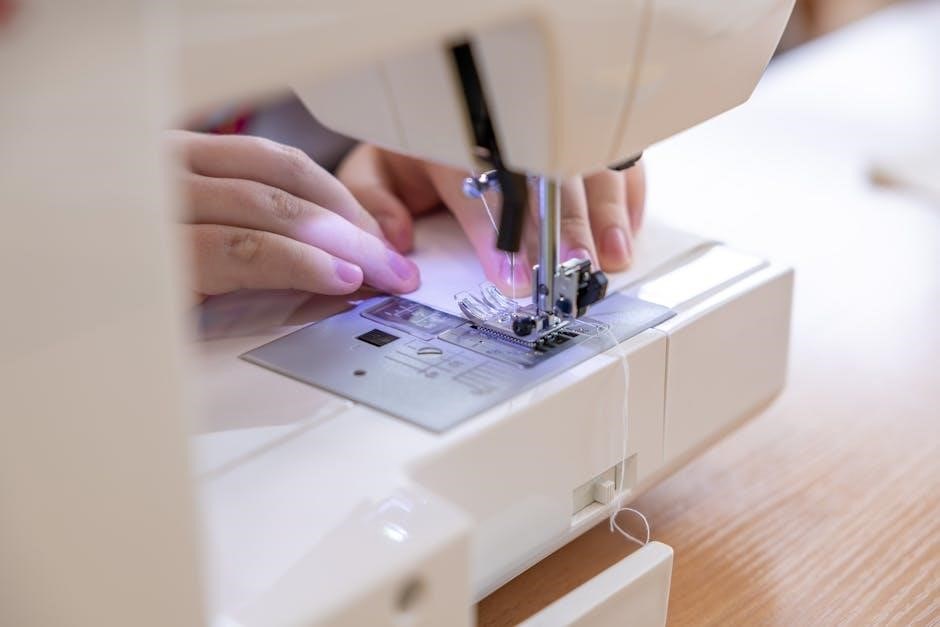
Gently guide the fabric under the presser foot‚ keeping the edge aligned with the desired seam allowance. Maintain a consistent speed for even stitching. Refer to the official Brother LS-2125 manual (support.brother.com) for detailed guidance on various sewing techniques and stitch applications.
Threading the Machine (Upper and Lower)
Upper Threading: Begin by raising the presser foot. Guide the thread through the spool pin‚ then through the thread guides‚ ensuring it enters the tension discs correctly. Next‚ lead the thread down through the take-up lever and finally‚ thread it through the needle eye from front to back.
Lower Threading (Bobbin): Ensure the bobbin is wound correctly and inserted into the bobbin case. Draw the bobbin thread through the tension spring of the bobbin case. Then‚ guide the bobbin thread up through the needle plate opening.
Always refer to the official Brother LS-2125 manual (support.brother.com) for visual diagrams and specific instructions. Proper threading is crucial for consistent stitch quality and preventing machine malfunctions. Double-check each step before starting to sew.

Winding the Bobbin
Preparation: Place a spool of thread onto the spool pin. Guide the thread from the spool‚ around the thread guide‚ and then onto the bobbin. Ensure the bobbin is correctly positioned on the bobbin winder spindle.
Winding Process: Push the bobbin winder spindle to the right to engage it. Hold the thread tail firmly for the first few turns to prevent slipping. Press the foot pedal gently to start winding. The machine will automatically stop when the bobbin is full.
Completion: Once full‚ disengage the bobbin winder by pushing the spindle back to the left. Cut the thread. Consult the official Brother LS-2125 manual (support.brother.com) for detailed illustrations. Consistent bobbin winding ensures even stitch formation and prevents thread breakage during sewing.
Straight Stitching – Settings and Techniques
Stitch Length: For standard sewing‚ set the stitch length dial to approximately 2.5mm. Adjust for heavier fabrics (longer stitch) or finer fabrics (shorter stitch). Experiment on scrap fabric to determine the optimal length.
Thread Tension: Proper tension is crucial for a balanced stitch. Begin with the default setting (usually ‘4’). If the top thread loops on the underside‚ increase the upper tension. If the bobbin thread loops on top‚ decrease it. Refer to the Brother LS-2125 manual (support;brother.com) for detailed tension adjustments.
Sewing Technique: Guide the fabric gently; avoid pulling or pushing. Maintain a consistent seam allowance using the edge guide. Practice straight stitching on scrap fabric before beginning your project. Consistent speed and even pressure are key to achieving professional-looking results.
Zigzag Stitching – Settings and Techniques
Stitch Width & Length: The Brother LS-2125 allows adjustable zigzag stitch width and length. A wider stitch (3-5mm) is ideal for finishing raw edges‚ preventing fraying. A narrower stitch (1-2mm) is suitable for reinforcing seams or creating decorative effects. Stitch length impacts density; shorter for finer fabrics‚ longer for heavier ones.
Applications: Zigzag stitches excel at stretch fabrics‚ allowing seam give. They’re also used for appliqué‚ decorative stitching‚ and creating buttonholes (though a dedicated buttonhole foot is recommended). Consult the official Brother LS-2125 manual (support.brother.com) for specific width/length settings for various applications.
Technique: Maintain consistent fabric feed. Practice on scraps to master controlling the stitch width and length for desired results. Adjust tension as needed to prevent puckering or looping.
Advanced Stitching Techniques
Expanding Your Skills: The Brother LS-2125‚ while a basic machine‚ allows for several advanced techniques. Mastering these unlocks greater creative potential. Explore decorative stitches for embellishment‚ utilizing varied widths and lengths for unique effects. Refer to the official Brother LS-2125 manual (support.brother.com) for stitch charts and recommended settings.
Buttonholes & Zippers: Creating buttonholes requires a buttonhole foot (often sold separately). Precise fabric placement and tension adjustments are crucial. Zipper insertion benefits from a zipper foot‚ enabling close stitching along the zipper teeth. Practice on scrap fabric first!
Overlock Simulation: While the LS-2125 doesn’t have a built-in overlock‚ a zigzag stitch can simulate a basic overlock finish‚ preventing fabric fraying. Experiment with stitch width and density for optimal results.
Buttonhole Sewing – Step-by-Step Guide
Preparing to Sew: Attach the buttonhole foot (sold separately) to your Brother LS-2125. Consult the official manual at support.brother.com for foot compatibility. Select the buttonhole stitch on your machine – typically indicated by a specific number or symbol. Measure the button size accurately; this determines the buttonhole length.
Step-by-Step Process: Place the button on buttonhole placement plate and lower the presser foot. Sew slowly‚ allowing the machine to complete the buttonhole sequence automatically. Most LS-2125 models require you to stop and pivot at designated points. Reinforce the beginning and end of the buttonhole with backstitching.
Finishing Touches: Carefully cut open the buttonhole using the buttonhole opener (often included with the foot). Avoid cutting the stitches! Test the buttonhole with the button to ensure a secure fit. Practice on scrap fabric before sewing on your final project.
Zipper Insertion – A Detailed Approach
Preparation is Key: Attach the zipper foot to your Brother LS-2125. Refer to support.brother.com for compatible feet. Position the zipper face down‚ with the zipper teeth centered under the presser foot. Select a straight stitch and adjust the stitch length for medium-weight fabric.
Sewing the Zipper: Begin sewing close to the zipper teeth‚ guiding the fabric carefully. Avoid sewing over the zipper teeth themselves. Backstitch at the beginning and end of each seam for reinforcement. Repeat on the opposite side of the zipper tape.
Finishing and Securing: Once both sides are sewn‚ carefully open the zipper. Topstitch close to the zipper tape on the right side of the fabric for a professional finish. Ensure the zipper operates smoothly after insertion. Practice on scrap fabric first!
Overlock Stitching (if applicable/accessory)
Simulating Overlock: Utilize a zigzag stitch with a narrow width (between 0.5mm and 1.0mm) and a slightly longer stitch length (around 2.5mm). Adjust the thread tension to prevent puckering. Practice on scrap fabric to determine optimal settings for your material.
Technique & Finishing: Guide the fabric edge along the edge of the presser foot. This creates a wrapped edge resembling an overlock stitch. Trim excess fabric after stitching for a clean finish. Remember this is a simulation‚ not a true overlock.
Maintenance and Troubleshooting
Regular maintenance ensures optimal performance of your Brother LS-2125. Always unplug the machine before cleaning. Remove the needle and presser foot. Use a soft brush to clear lint from the bobbin area and feed dogs. Refer to support.brother.com for detailed diagrams.
Lubrication: Oil designated points (consult the official manual) sparingly with sewing machine oil. Avoid over-oiling‚ which can attract dust. Do not use WD-40 or similar products.
Common Issues: Thread bunching often indicates incorrect threading or tension. Needle breakage can result from using the wrong needle type or bent needles. If the machine jams‚ carefully remove the fabric and re-thread. For persistent problems‚ consult the Brother support website.
Cleaning the Machine
Consistent cleaning is vital for maintaining your Brother LS-2125’s longevity and performance; Always disconnect the power cord before beginning any cleaning procedure. Begin by removing the needle and presser foot to access the critical areas.
Bobbin Area: Use the brush accessory (or a soft brush) to gently remove lint and thread debris from the bobbin case and surrounding areas. A vacuum cleaner with a brush attachment can also be helpful‚ used on a low setting. Refer to support.brother.com for visual guidance.
Feed Dogs: Brush away any accumulated lint from the feed dogs. Avoid using compressed air‚ as it can push debris further into the machine. Wipe down the exterior surfaces with a slightly damp cloth. Never use harsh chemicals or abrasive cleaners.
Oil Points and Lubrication
Proper lubrication ensures smooth operation of your Brother LS-2125. However‚ over-oiling can be detrimental‚ attracting lint and causing build-up. Consult the official Brother manual (support.brother.com) for specific oiling points.
Key Areas: Typically‚ oiling is required on the bobbin race‚ hook assembly‚ and presser bar linkage. Use only sewing machine oil – never use oil intended for other purposes. Apply a small drop of oil to each designated point.
Operation: After oiling‚ manually turn the handwheel several times to distribute the oil evenly. Wipe away any excess oil to prevent staining fabric. Regular cleaning (as detailed in the previous section) reduces the frequency of oiling needed. Avoid disassembling the machine for oiling unless you are a qualified technician.
Common Problems and Solutions
Encountering issues with your Brother LS-2125 is common; often‚ simple solutions exist. If the machine doesn’t power on‚ check the power cord and ensure it’s securely connected. Thread bunching usually indicates incorrect threading or tension adjustments – re-thread following the manual (support.brother.com).
Skipped stitches can stem from a dull or incorrect needle‚ or improper threading. Always use the correct needle type for your fabric. Bobbin issues‚ like uneven winding or incorrect insertion‚ cause inconsistent stitching. Ensure the bobbin is wound evenly and seated correctly.
If the machine jams‚ stop immediately and carefully remove the fabric and thread. Never force it. Consult the official manual for detailed troubleshooting steps and diagrams. For complex problems‚ contact Brother support or a qualified sewing machine technician.
Accessing the Official Brother LS-2125 Manual
The most comprehensive resource for your Brother LS-2125 sewing machine is the official manual‚ readily available online. Visit the Brother support website at support.brother.com to access a downloadable PDF version. Navigate to the “Manuals” section and search for LS-2125‚ LS-2125i‚ or LS-2129 – all models share the same core documentation.
The online manual provides detailed diagrams‚ troubleshooting guides‚ and step-by-step instructions for all machine functions‚ from basic threading to advanced stitching techniques. Brother also offers frequently asked questions (FAQs) and video tutorials to assist with common issues.
Downloading the manual allows offline access‚ ensuring you can consult it anytime‚ even without an internet connection. Keep a digital copy on your computer or tablet for convenient reference during your sewing projects. Utilizing the official resources guarantees accurate and reliable information.